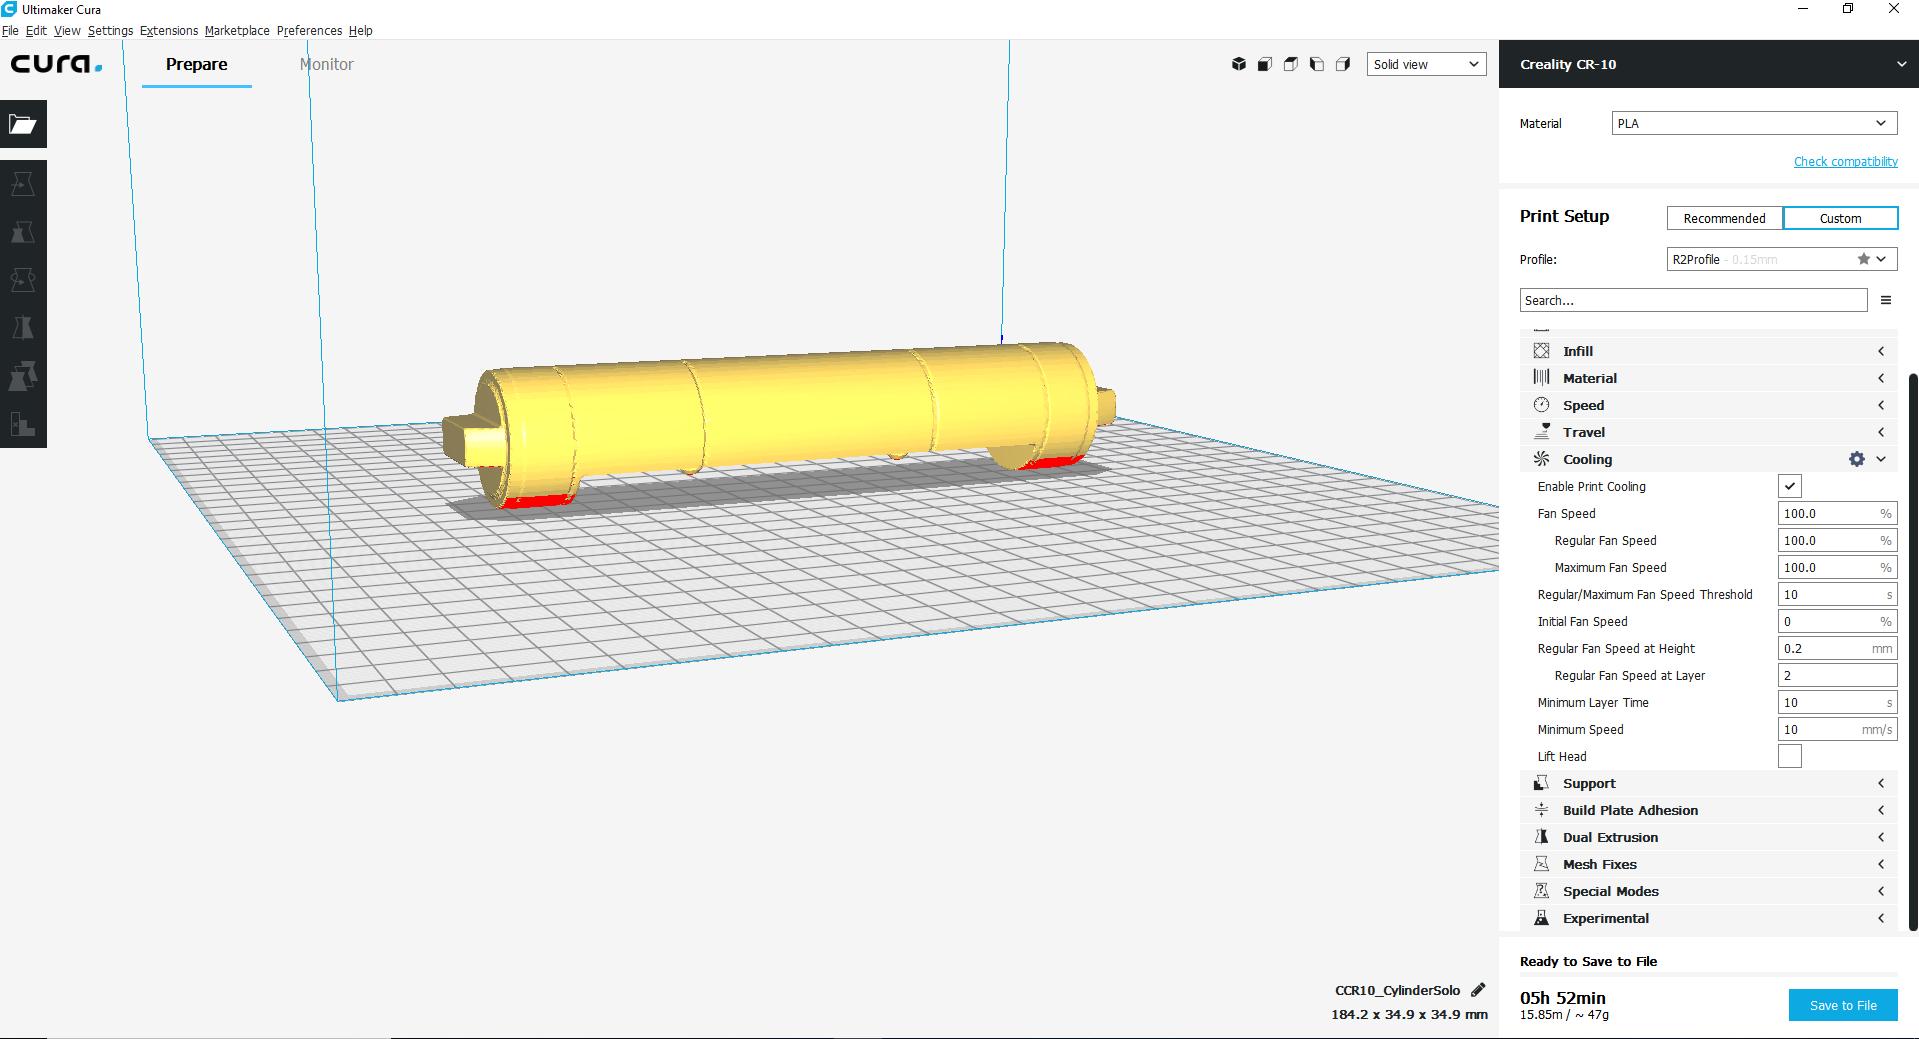
Leg Month
November has been a leg month for me… no not in the gym I meant with R2! I’ve made some real progress with R2 I think on the legs, I’ve only done one but I guess this was more of the test leg. Using 3D printed parts I’ve had a good go and
learned quite a few things along the way.
So starting at the top of the legs, I started with the top of the booster cover and this printed nearly perfectly first time. The one criticism I do have is that on the final top layer it’s bumpy. Not bumpy as in uneven but bump as in horizontal
lines which actually look like they’re supposed to be there but I’m not 100% sure at the moment. Other than that I was expecting the overhang parts like where the two square shapes are to cause me problems but my printer seemed to be fine with
printing that.
The next part I call the legs of the booster cover, it has the raised square that the Leg Strut sits inside of, I did have a small issue, at the start of the print some of the layers didn’t fuse proper (again!) so there are a few gaps along there
however the rest of it seems to have printed perfectly fine.
Moving down to the bottom parts, these are the short parts that attach to the legs I actually printed two of the same ones by mistake. For some the control box on my printer seems to be really quick doing anything except selecting files from my
SD card, I did read somewhere that I need to reformat the SD card to speed it back up as deleting old files doesn’t seem to have done anything.
Some CAD Work
Onto the plate that sits at the bottom of the booster cover, I had a small issue with this, I did actually use it as a tester piece when I first got my printer as I found it was quick and simple to print but the problem was that with me having
a CS:L droid and Michael’s 3D parts being designed around a CS:R droid the measurements were out. I did try to re-scale it but I couldn’t seem to get the correct measurements for some reason! So I did a “ real builders” nightmare trick and did a
bodge job! Actually I cut the back part off and slide the plate on. Then to make matters worse, it was slightly warped and me being as impatient as I am, I put some contact adhesive on but I couldn’t leave it to dry without holding it down since
it was warped…. You guessed it, I nailed it down. Kind of glad hitting the nails with a hammer acted as a counter sinking thing otherwise I may have needed a new leg!
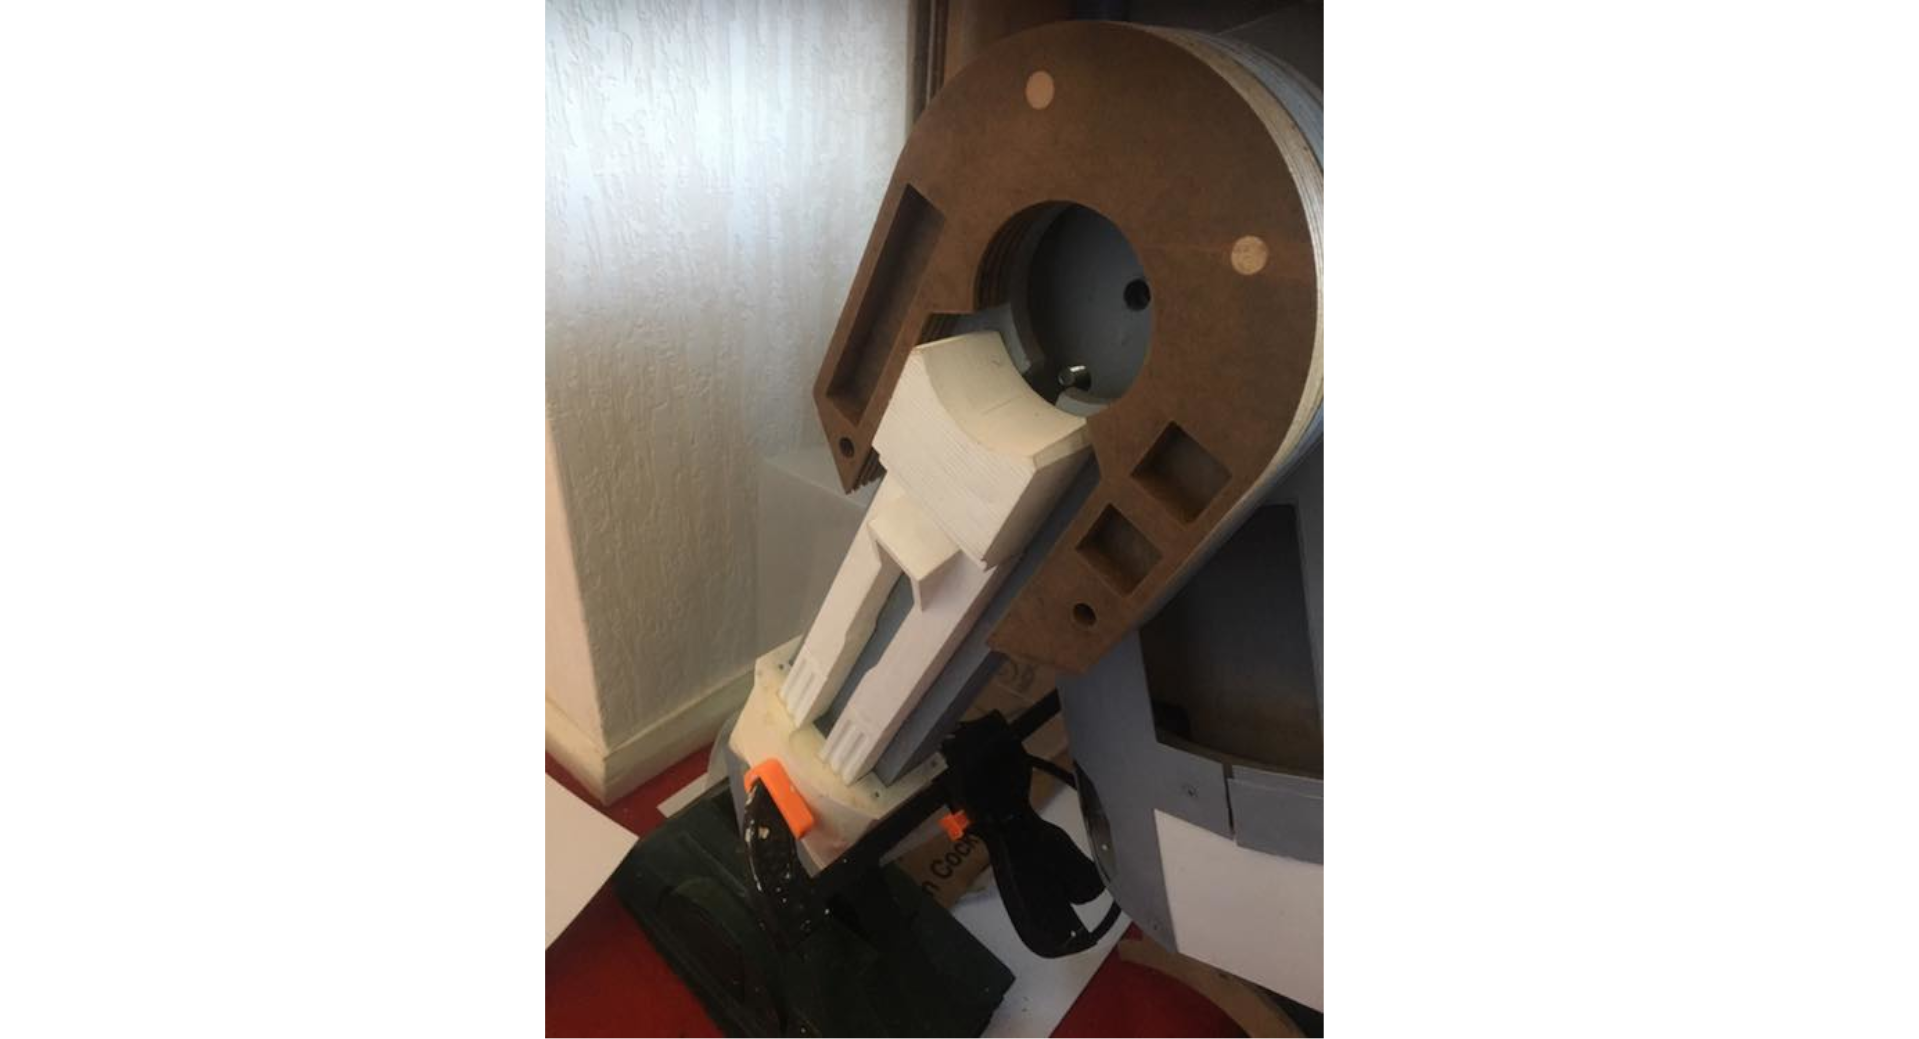
There is a lovely little curved part that goes just above the ankle cylinders, the name of it eludes me at this point since it’s early morning December of writing this (sorry for the delay) and I haven’t quite finished my coffee! That printed
pretty well, wasn’t 100% happy with the final layer as it was very “ line-y” but it’s strong and printed first time so that’s a bonus!
Next we have the Ankle Cylinder and the various parts around it, the first one was an ankle cylinder wedge, then the cylinder itself and thirdly the half moon type part that goes underneath the cylinder. I think it may have been the way I perhaps
angled the wedge to print as the face that is actually facing to the naked eye seems to have had supports printed on it but the supports didn’t come off the way supports usually come off… it left quite a bit of cross sections on there which refused
to come off during sanding to I’m hoping I can get them off another way!
The Ankle Cylinder itself was fine to print, it came in two half but the issue I have is that when I stuck them together they didn’t stay lined up so after some advice from other 3D printing builders, I may, for the next leg get both parts and
use a CAD program to stick them together and print as one, you’re correct in thinking it will take longer to print but it gets rid of the seam lines and makes sure it’s lined up!
Primed And Ready To Go!
Almost finished I promise…! The half moon part that goes under the cylinder came out great however for some reason it was rather weak, so I may have to up the
infill settings next time, I have also noticed that with a new profile I’ve got which is printing some great stuff for the record, the inner supports' kind of
look more like snowflakes than the support walls I’m used too which is strange…
Finally, we come to the Leg Strut, this again came in two parts and same as the cylinder but after gluing them together they didn’t stay fully lined up when
the glue was setting, so I’m not sure if the glue slightly expanded and moved the parts of perhaps they moved after being clamped and I didn’t notice.
Either way the alignment isn’t 100% straight away noticeable although I’m sure some of you builders will spot it a mile away but the join line is rather
noticeable, so I think I’ll have to get some filler in there and see what I can do!
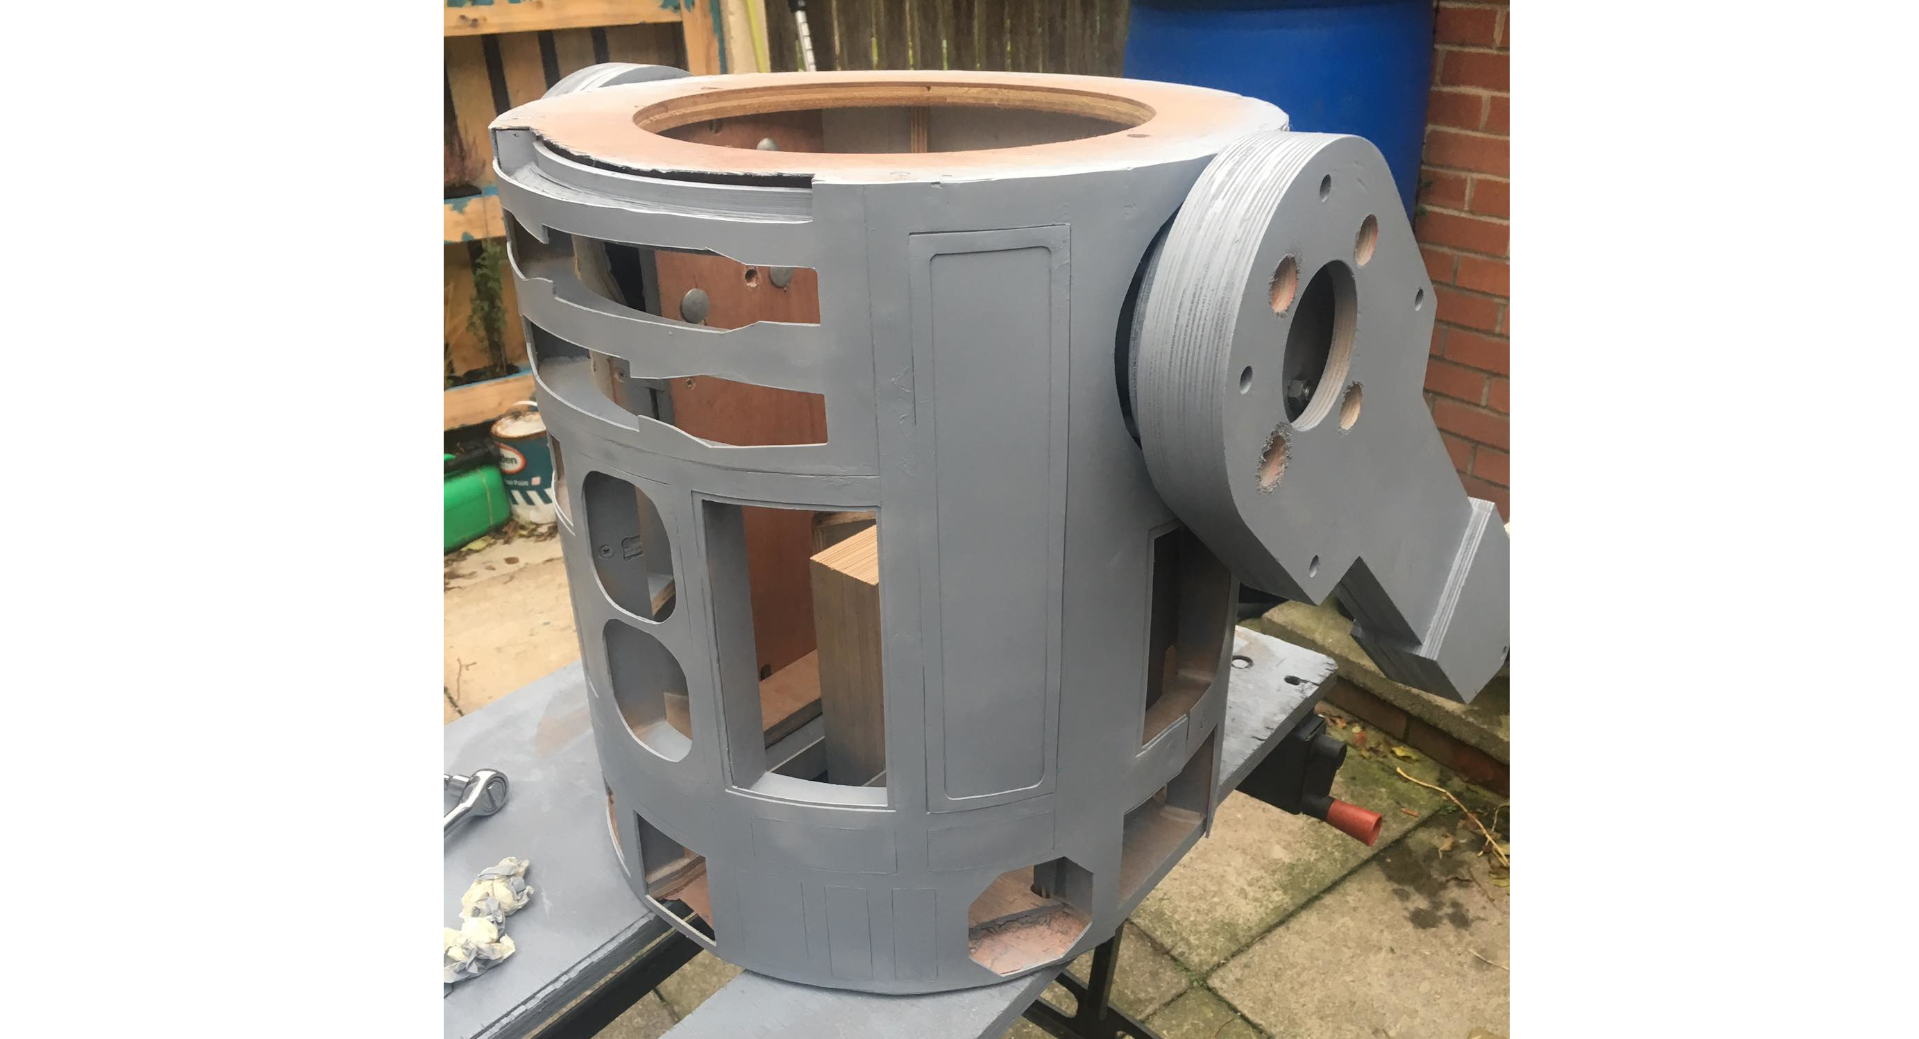
I did as well paint the leg, I went through about 2-3 cans of Rust-o-leum primer, I probably would have gone through less if I had added some glue to the bare
wood to help it sticks as after priming the wood texture kept coming through and as you can probably assume, the wood was absorbing the primer giving it a
gray color but still showing the wooden texture. I was advised that I should try PVA on the legs to help seal the wood and give the primer something extra to
stick too. Another builder suggested adding some gorillas glue to the mix, which I did and I don’t think I’ll be doing that again as the gorilla glue isn’t
dissolve into the mixture but instead formed lumps which stuck to the legs and became visible after painting. All of this is just a learning curve though for
when I do the next leg and eventually future droids.
I have been using both Rust-o-leum paint a Wilko own brand paint, there was only a couple of pounds difference in them but quality wise they both seem the same
to me!